Point Comfort 23

classic Classic list List threaded Threaded
63 messages Options
1234
Reply | Threaded
Open this post in threaded view
|

Re: Point Comfort 23

MarkR
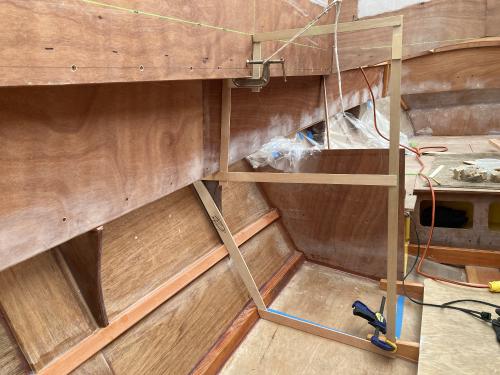
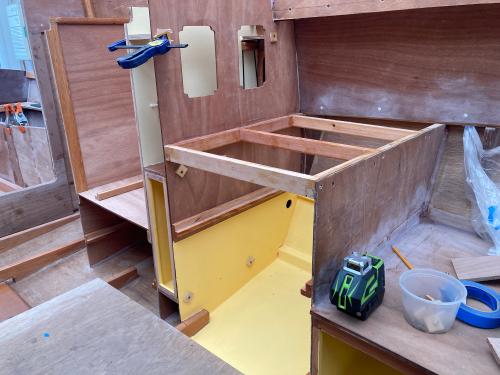
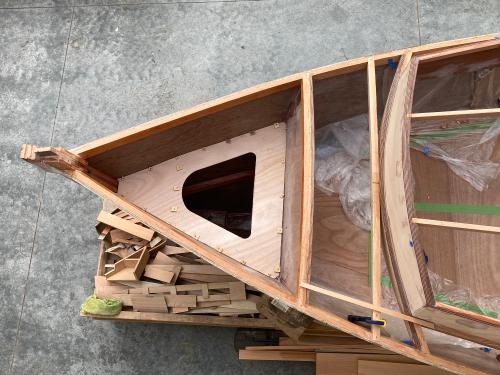
At the bow an anchor deck is planned.  This will be deep enough to contain anchor, rode and chain.  It has to drain passively which will be via two scuppers at the aft end of the deck.  The deck was framed with CVG Fir stringers with the crown cut into them.


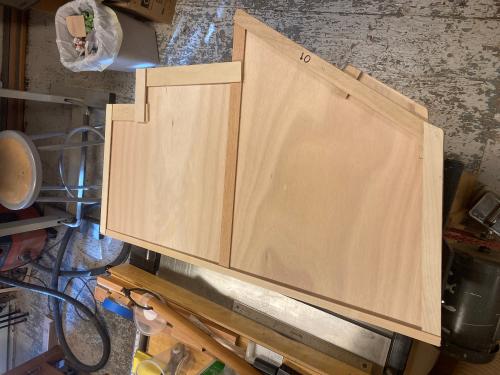
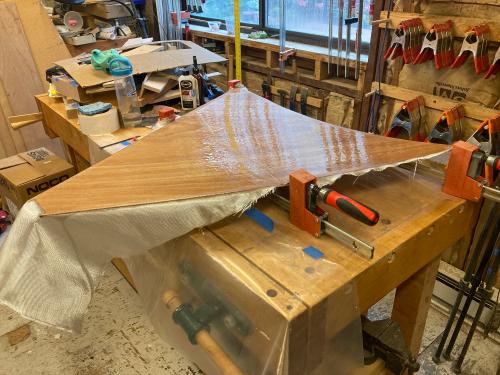
The deck is made of two pieces of 6mm Okume, they are glued together and then the bottom surface was fiberglassed.  The top surface will be fiberglassed with the rest of the anchor deck after installation.  The panel is clamped to preserve some pre-arc.  


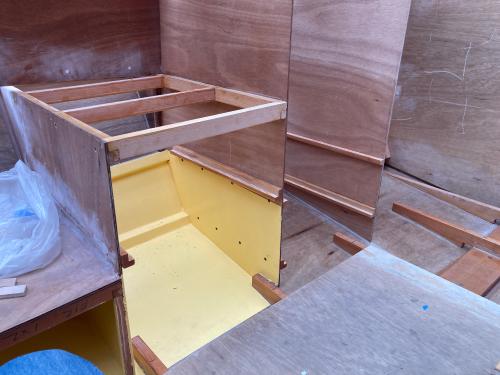
 The deck is glued into place using temporary screws.  A maintenance hatch will allow access to the area below.  


The deck is filleted into the sides to allow fiberglassing.  The interior sides will get an additional layer of 6 oz glass in addition to the 10 oz interior hull layer, while the deck will be covered by one 6 oz and one ten oz layer of glass set into epoxy.


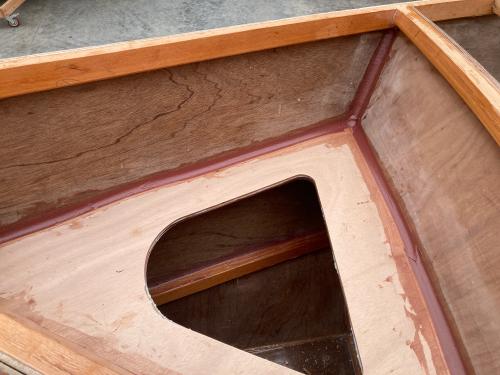
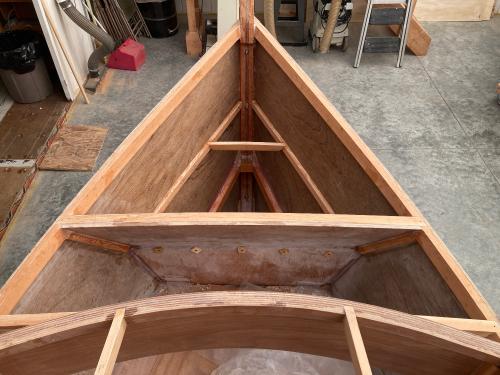
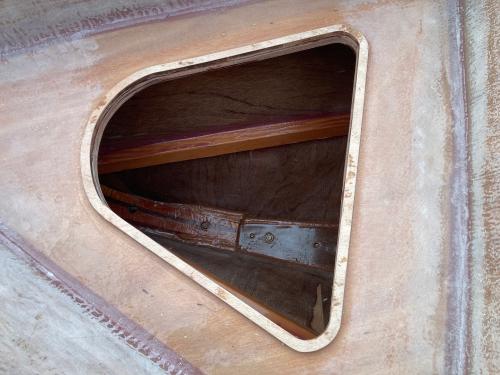
A rim of 9mm Okume was added for the hatch cover seal.  


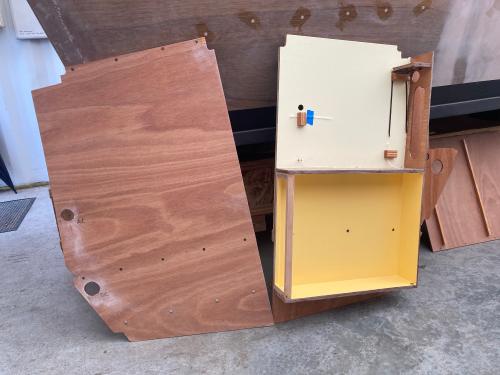
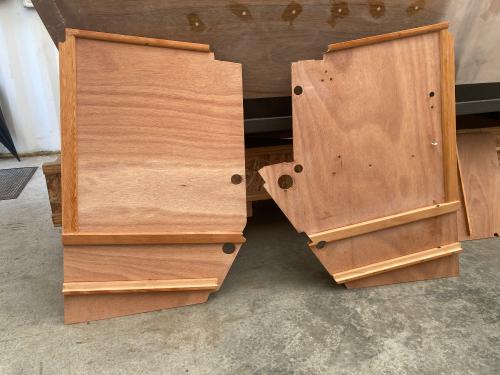
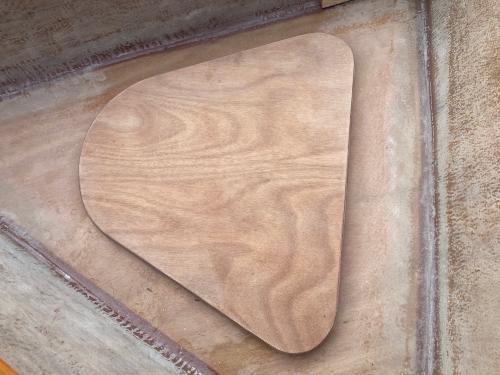
The hatch cover was made using two layers of 6mm Okume, glassed both sides.  A 9mm rim that fits outside of the deck rim was added,


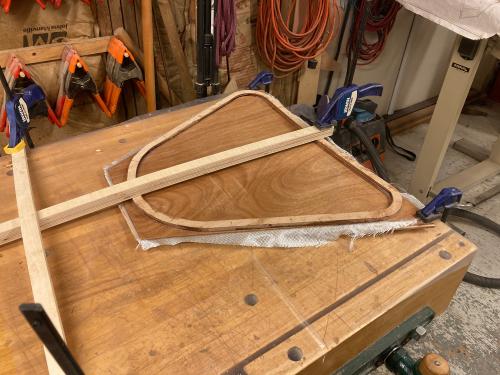
The finished hatch cover will eventually be screwed into place and gasketed.


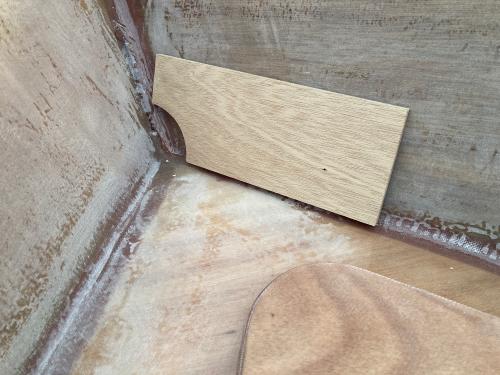
Scuppers will be cut port and starboard.  Not sure if they will be exactly this shape, but something similar.


Anchor deck is substantially complete at this point.  Finishing can wait for warmer weather.


Reply | Threaded
Open this post in threaded view
|

Re: Point Comfort 23

MarkR
It's still cold outside, which means that the boat shop is cold, too.  The interior cabin bulkheads and furniture are mostly constructed in my shop at home, so this sounded like a good project to tackle next.  The templating of the bulkheads are done at RiversWest, but they are quick to do.  The templates are constructed of strips of solid wood and plywood, hot glued together.  All of this is scrap material.  At roughly 40 degrees, the hot glue set up really fast!  If you look carefully, there is a faint green line at the top of the template.  That is the horizontal line of the setup laser.


This template is then used to cut the 6mm panel to size and shape.


The panel is fitted to the hull in the precise place that it goes, then all structural panels are glassed both sides.  Non-structural panels are given two coats of epoxy both sides.  The edges of all panels are given two coats of epoxy after final fitting.  This is the Port panel.  The two larger cutouts are for electrical panels.  The two diamonds are for ventilation.


In the photo below, the Starboard panel has been fitted, tacked into place and the seat platform structure is dry fitted.


Reply | Threaded
Open this post in threaded view
|

Re: Point Comfort 23

MarkR
At this point, there is a pair of bulkheads on the Port side that will contain the electrical panels and the refrigerator.  There is a lot going on with these two panels.  The photo below shows the inside of the electrical panel (R) and the outside of the refrigerator panel. (L)  Note that the electrical panel compartment (top) has been pre-painted and the lower locker has also been pre-painted.  This saves a lot of fussing and swearing, trying to paint these in place.


The opposite side of these two panels are shown below.  The lower horizontal pieces are drawer slides.  Up from that are the refrigerator shelf supports.


Photo below shows the dry fit of the Port side cabinet.  Note the pre-paint of the parts means only minor touch-up will need to be done once glued into place.


Below is the Starboard side dry fitted with drawer slides and shelf supports.  


At this point, everything was disassembled, wiped down with dewaxer/degreaser and glued into place with System 3 GelMagic.  The open top of the cabin was tarped and a small heater placed in the center of the action.  It provided just enough heat to allow the epoxy to go off.
1234