Guppy 9


|
Hey friends - adding some documentation here for my Guppy 9 build.
This is a Sam Devlin design. I chose a boat by Devlin because he has so much supporting documentation for a beginner boatbuilder. I also read some advice about how a "named" designer can help if you ever resell the boat. I considered a lot of different designs, including kayaks, canoes, prams, and wherries. However, I sail keelboats on the Columbia (and sometimes farther afield) and dinghies on the Willamette. I wasn't strictly longing for a sailboat of my own, but it seemed like making a boat I could sail would maximize both my shenanigans and my sense of accomplishment. The Guppy is a little rower-sailer, and you can through an outboard on it, as well. Russ sent me an article on it from Small Boats Monthly (linked below), and it struck the right balance between being an achievable build as well as a practical and enjoyable end product. A sail to get me into trouble, and a pair of oars to get me back out! I'll be trying to keep up with posts on my progress as I go. Here is the link to the Devlin page: https://devlinboat.com/guppy-9/ Here is the link to the Small Boats Monthly article that Russ sent me: https://smallboatsmonthly.com/article/guppy-9/ A resource page from Devlin that includes an excellent free video on stitch-and-glue: https://devlinboat.com/build-your-own-classic/resources/ |
|
|
A recent RiversWest guest had mentioned a good deal on marine plywood in Albany at the Hardwood Centre - $60 for 6mm and $80 for 12mm TigerPly Okoume. The guy at the shop said it was 100% okoume.
That price was about half of what I was able to find it for at Crosscuts and similar, so I made the trip to pick it up (huge thank you to Russ for the ride down). They have a good source for plywood, including marine plywood - I would buy from them again and would expect the prices to remain very competitive. The picture is of my piece of 12mm. I hadn't planned on doing much bright finish, but all the pieces were very pretty and made me reconsider! 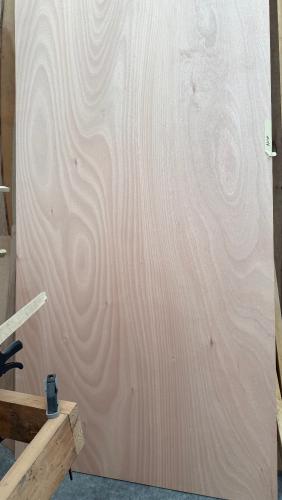 |
|
|
I have no real woodworking experience to speak of, so I'm very grateful for every bit of help along the way! This is more for my own reflection and reference, but in case it's interesting or helpful, I'm adding it all here.
A number of people sent me over to Randy because he is "the plywood scarfing guy" (among many other talents) and he generously agreed to guide me on my way. We used the John Henry attachment for the Makita planer. I forgot to check/get new blades for it, but it did ok. But as a reminder to myself - check next time!  We were able to cut one of my 4x8 plywood sheets into 2 1/2 foot sections - which would allow for scarfed dimensions of 4x10.5. The plans called for 4x10 and we added a little extra for some insurance. Randy brought his track saw, which was incredibly helpful (except that now I want one of my own). After cutting the pieces, we set up a sawhorse for the scarfing. We added a few layers on the sawhorse for a stable foundation, and added sacrificial pieces of plywood on either side where we could start the cuts. We also set up a trial run with some scrap plywood. 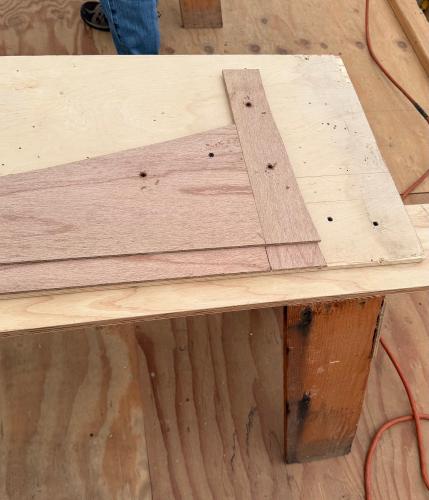 Happy enough with the trial run, we set up the plywood. By pressing down on the edge of the plywood about to be cut, we were able to see where there was too much room between the sheets. On the far end, we added some scrap to raise the far end and bring the working edges closer together. 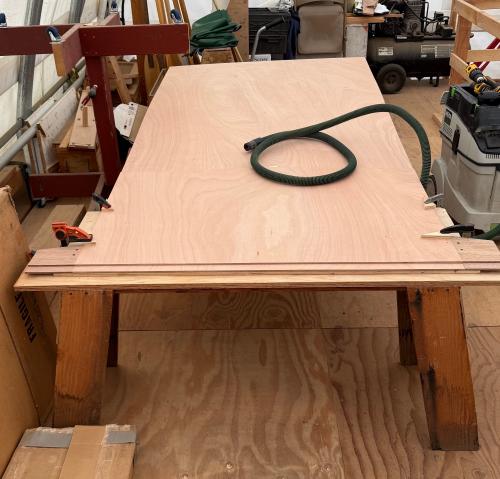 Unfortunately, I don't have any pictures of the scarfed sheets the whole way across - just the edge. Or maybe fortunately - they were functional but not as beautiful as I might have liked. 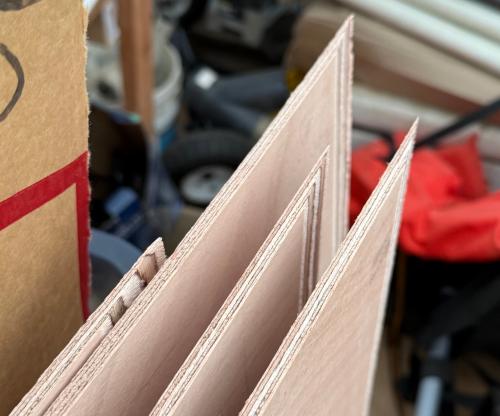 Another point where I benefited from Randy's experience: he cut blocks that we were able to screw down to help position and hold the plywood sheets for the scarf. 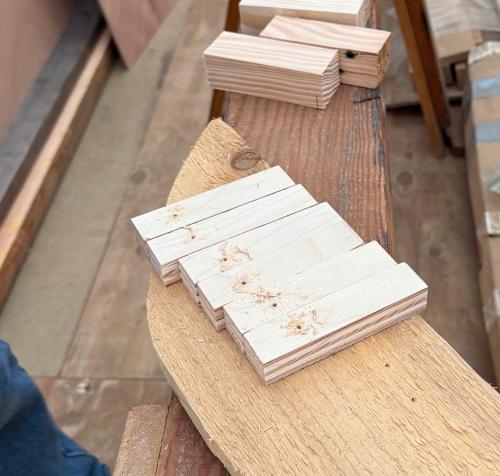 I decided to go with West Systems for my epoxy. No particular reason - maybe it was all the containers of West System filler around the shop, seemed auspicious. I bought a 3M P100/OV Respirator and used that throughout along with tyvek coveralls, gloves, and safety glasses. And I bought ALL the resin I will need for the project (all four+ gallons) - feeling so smart about buying in bulk at a better price. Well, the dang container almost didn't fit in the warmer! We also had a tough time getting the lid off of the hardener - it seem like it had gotten glued on or something funny. Again, a big thank you to Randy for having the vision to chisel the lid right off with a screwdriver - I don't know what I would have done but it probably wouldn't have been that. The pumps seemed to work just fine for metering out the right quantities - we'll see when we check the glued up scarf! I brought a kitchen scale but didn't bother to check the ratios since it seemed to be working well. I painted the exposed scarf angles with neat epoxy (2 resin pumps was about perfect to cover both cut edges). On the bottom angle, I added a layer of epoxy that had silica filler added to about the consistency of ketchup (just one pump of resin was adequate here). After the first panel glue-up, we laid out another layer of plastic sheeting, and repeated with the second panel. After that, some more plastic, and a piece of wood laid across the scarf glue-ups and screwed into place to hold the joints together. Incredibly, I don't have any pictures of this final outcome. Hopefully I'll remember to take some before we undo it all. |
«
Return to General discussion
|
1 view|%1 views
| Free forum by Nabble | Edit this page |