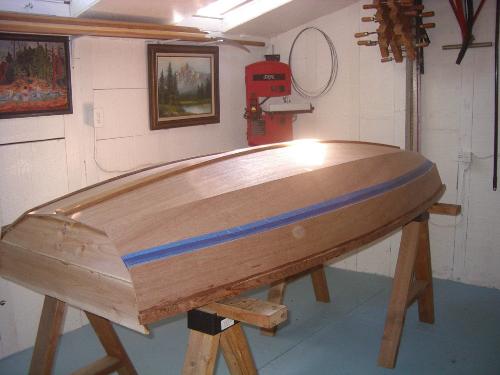
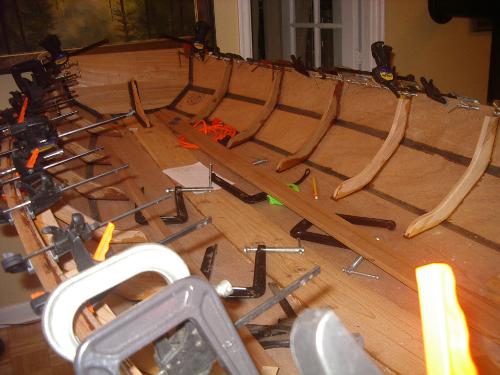
After a month of setting aside progress on my current build, a double-knuckled, vee-bottomed pram, to prep for the coming market crash, to re-build my varnish station, and to knock out some Fall chores, I glued up the outwales today.
I estimated 500
grains [NB: not
grams, which is too gross a measurement to ensure a never-failing cure] of epoxy would do the job and came within two brush stokes of not mixing too much. Also, this time, I forced myself to wear Nitrile gloves. I've been using epoxy for 30 years and never had an allergic reaction. But when properly-fitting gloves can be found and are so cheap, there was no longer an excuse not to wear them, given that I want to depend on epoxy for another 30 years. Predictably, because I was wearing gloves, I almost didn't need them, because I was also making an effort to work as cleanly as possible.
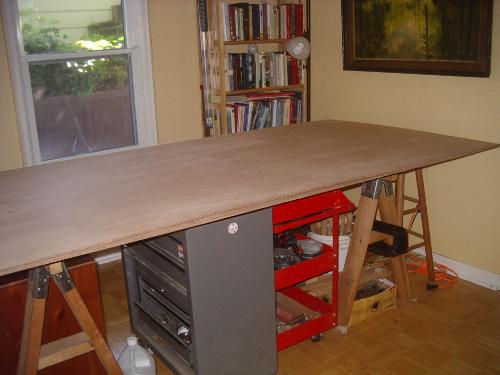
Tomorrow, I'll glue in the scupper blocks. The next day, the inwales. Then I'll fit seat-risers, crown the transoms, clean up the interior, then flip the hull, fit and install a skeg, clean up bottom, move the boat to my varnish station, and re-set up my lofting-table for my next build, which I'm not sure what it's going to be, whether a seven-plank rowing gig, a three-plank sail boat, or a light-weight, tortured-ply canoe. Any of them would be fun. It all depends on how much complexity I want to deal with. My inclination is 'simple and fast', which probably means a different plan entirely, maybe a clinker stem dinghy for which I wouldn't be drawing the plans, but using some from Stanley Small Craft.
 http://www.harborfreight.com/5-mil-nitrile-powder-free-gloves-100-pc-large-68497.htmlhttp://stanleysmallcraft.net/epages/171f198d-3099-4ff2-8724-120d466c8268.sf/en_GB/?ObjectPath=/Shops/171f198d-3099-4ff2-8724-120d466c8268/Categories/Category1/Clinker_Ply_Designs
Charlie