Finishing the Shellback Dinghy

classic Classic list List threaded Threaded
23 messages Options
12
Reply | Threaded
Open this post in threaded view
|

Re: Finishing the Shellback Dinghy

Charlie43
Mark,

Clever clamping jig. Thanks for the photo of that.

A question: Why did you choose a pale leather over a darker one?

Charlie
Reply | Threaded
Open this post in threaded view
|

Re: Finishing the Shellback Dinghy

MarkR
Charlie,

It is vegetable tanned leather which will darken up with subsequent waxing and use.  It is my understanding that vegetable tanning is more environmentally friendly than oil tanning.  After these photos were taken, the leather was waxed with an oil/bees wax formula and then waxed with creamed bees wax.  This will be repeated in the spring.

My next post will show the final rigged boat and will finish up this series.

Mark
Reply | Threaded
Open this post in threaded view
|

Re: Finishing the Shellback Dinghy

MarkR
The spars were made, the mast partner was leathered and now it's time to rig her.  I did my best to rig it properly based upon Joel White's plans and instructions and the book "How to Build the Shellback Dinghy" by Eric Dow.  I highly recommend this book should you choose to build this fine little boat.

Chuck Stuckey came over to assist with my efforts and recommended a couple of small changes which made all of the difference.  I added a cleat to the mast to tie off the downhaul and a small jam cleat with fairlead to the boom to easily adjust the outhaul on the water.  


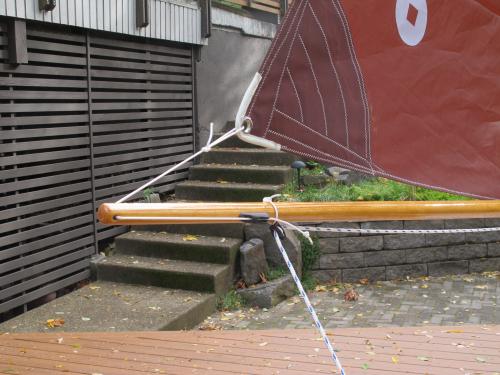
The spar and boom were leathered at contact points with the mast and the rig was reassembled.  The final rigged boat was ready to "deck sail".  


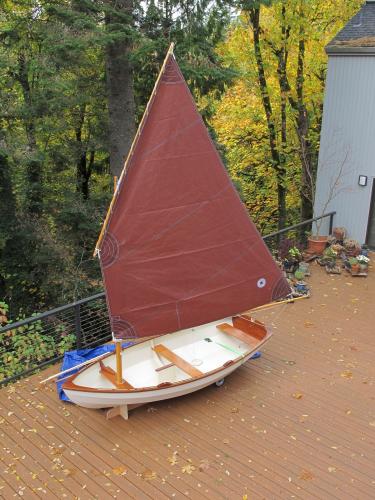
This finishes up the Shellback build.  I'll be moving on to building oars.

Cheers!

Mark
12